
Backup of Your Switch Configuration: Avoid Disaster
Backing up a switch configuration is an important part of network administration. It provides a way to restore…
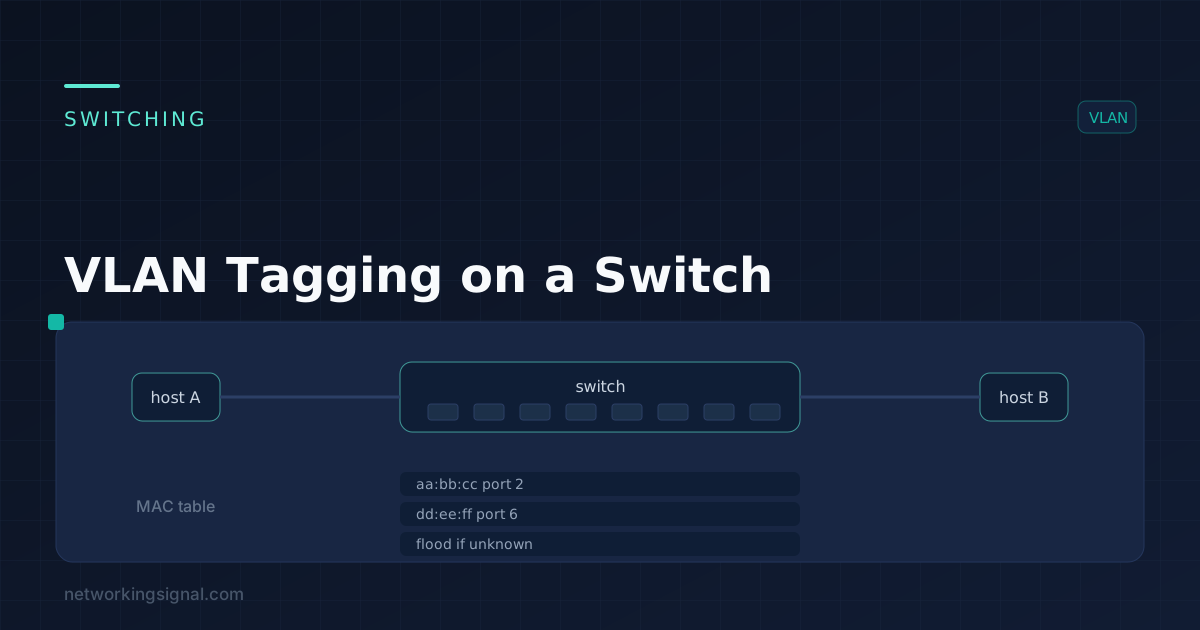
VLAN tagging inserts a 4-byte 802.1Q header into an Ethernet frame identifying which VLAN it belongs to. That tag is what lets one physical cable between two switches carry traffic for many separate VLANs without mixing them.
The rule that governs everything else:
The tag sits between the source MAC address and the EtherType field, growing the maximum frame from 1518 to 1522 bytes:
| Field | Bits | Purpose |
|---|---|---|
| TPID | 16 | Always 0x8100, marks the frame as tagged |
| PCP | 3 | Priority 0–7, the Layer 2 QoS marking |
| DEI | 1 | Drop eligible indicator |
| VID | 12 | VLAN ID, 1–4094 |
That 12-bit VID field is where the 4,094 VLAN limit comes from, 4,096 values minus 0 and 4095, which are reserved.
Switch# configure terminal
Switch(config)# vlan 10
Switch(config-vlan)# name USERS
Switch(config-vlan)# exit
Switch(config)# vlan 20
Switch(config-vlan)# name VOICE
Switch(config-vlan)# exit
Switch(config)# vlan 30
Switch(config-vlan)# name GUEST
Switch(config-vlan)# exit
Switch(config)# vlan 999
Switch(config-vlan)# name NATIVE-UNUSED
Switch# show vlan briefName every VLAN. Six months later, “VLAN 47” tells nobody anything.
Switch(config)# interface range GigabitEthernet0/1 - 12
Switch(config-if-range)# switchport mode access
Switch(config-if-range)# switchport access vlan 10
Switch(config-if-range)# switchport nonegotiate
Switch(config-if-range)# spanning-tree portfast
Switch(config-if-range)# spanning-tree bpduguard enable| Command | Why |
|---|---|
switchport mode access | Forces access mode. Without it the port defaults to dynamic auto and can be tricked into becoming a trunk. |
switchport nonegotiate | Disables DTP entirely, closes the switch-spoofing attack. |
spanning-tree portfast | Skips listening and learning so hosts get link immediately. Access ports only. |
spanning-tree bpduguard enable | Shuts the port if a switch is plugged in. Always pair with portfast. |
Switch(config-if)# switchport mode access
Switch(config-if)# switchport access vlan 10
Switch(config-if)# switchport voice vlan 20
The phone tags its own traffic as VLAN 20; the PC’s untagged traffic lands in VLAN 10. One cable, two VLANs, no trunk configuration needed.
Switch(config)# interface GigabitEthernet0/24
Switch(config-if)# switchport trunk encapsulation dot1q
Switch(config-if)# switchport mode trunk
Switch(config-if)# switchport trunk native vlan 999
Switch(config-if)# switchport trunk allowed vlan 10,20,30
Switch(config-if)# switchport nonegotiate
Note switchport trunk encapsulation dot1q, required on older platforms that also supported ISL, and rejected on newer ones that only do dot1q. If the command is not recognised, your switch only speaks 802.1Q and you can skip it.
Switch# show interfaces trunk
Switch# show interfaces GigabitEthernet0/24 switchportThis one takes networks down regularly:
! REPLACES the entire list with just VLAN 40
Switch(config-if)# switchport trunk allowed vlan 40

! ADDS VLAN 40 to the existing list, what you almost always want
Switch(config-if)# switchport trunk allowed vlan add 40
Forgetting add on a live trunk removes every other VLAN instantly. There are also remove and except keywords.
VLANs are separate broadcast domains and cannot reach each other without a Layer 3 device.
Switch(config)# ip routing
Switch(config)# interface Vlan10
Switch(config-if)# ip address 192.168.10.1 255.255.255.0
Switch(config)# interface Vlan20
Switch(config-if)# ip address 192.168.20.1 255.255.255.0Router(config)# interface GigabitEthernet0/0.10
Router(config-subif)# encapsulation dot1Q 10
Router(config-subif)# ip address 192.168.10.1 255.255.255.0
Router(config)# interface GigabitEthernet0/0.20
Router(config-subif)# encapsulation dot1Q 20
Router(config-subif)# ip address 192.168.20.1 255.255.255.0The switch port facing the router must be a trunk. Router-on-a-stick works but all inter-VLAN traffic crosses one link twice, fine for a small site, a bottleneck beyond that. SVIs on a Layer 3 switch route in hardware and are the better answer wherever available.
Switch# show vlan brief
Switch# show interfaces trunk
Switch# show interfaces GigabitEthernet0/24 switchport
Switch# show mac address-table vlan 10
Switch# show interfaces status| Symptom | Cause |
|---|---|
| Host gets no IP address | Wrong access VLAN, or no ip helper-address on the SVI for DHCP relay |
| Devices in the same VLAN cannot see each other across switches | The VLAN is not in the trunk’s allowed list, or does not exist on the second switch |
| Trunk will not form | Mode mismatch, encapsulation mismatch, or DTP disabled on one side only |
| Hosts in different VLANs unexpectedly reach each other | Native VLAN mismatch, check the CDP log message |
| VLAN vanished across the site | A VTP server with a higher revision number overwrote the database, see VTP |
| Inter-VLAN routing not working | ip routing not enabled, or the SVI is down because no access port in that VLAN is up |
That last one catches people: an SVI stays down until at least one access port in its VLAN is up and the VLAN exists in the database. A newly created VLAN 30 with nothing plugged in shows the SVI as down/down.
switchport nonegotiate plus explicit mode configuration.A tagged frame carries an 802.1Q header naming its VLAN and is used on trunks. An untagged frame has none and is used on access ports, where the switch already knows which VLAN the port belongs to.
Normally no, an access port strips the tag before the frame reaches the device. Exceptions are servers and hypervisors connected to trunks, which handle tags themselves.
The 802.1Q standard allows 4,094. Individual switches often support fewer active VLANs than that, so check the platform limit before designing around a large number.
It must exist in the VLAN database on both switches and be present in the allowed list on every trunk between them. Missing either one is the usual cause.
An access port belongs to a single VLAN and sends untagged frames to an end device. A trunk carries multiple VLANs between switches using tags. See access port vs trunk port.
Technically yes, and it is the default. But it is the default on every switch everywhere, which is exactly why attacks assume it. Move user traffic, management and the native VLAN off it, to three different VLANs.
Hand-picked articles you might also find useful.
 Switching
 Backing up a switch configuration is an important part of network administration. It provides a way to restore…
 Networking Gears
 Compare the best stackable switches for SMB networks, including 10GbE, PoE, stack size and when cloud-managed switches are…
 Switching
 In the world of modern technology, networking plays a crucial role in enabling seamless connectivity between devices. One…
One response to “VLAN Tagging on a Switch — How to Create and Assign VLANs”
[…] Also Read: How To Create & Assign VLAN Tagging On Switch […]