
What is Ingress in Networking and How Does It Work?
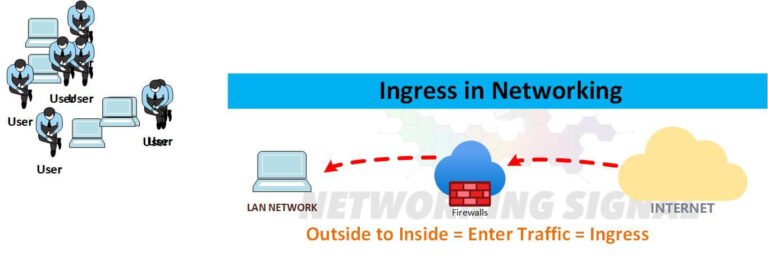
What is Ingress in Networking? In computer networking, Ingress is the term used to describe data that enters…
A home lab or network is a private network or server environment that individuals set up at their homes for learning, experimenting, and testing various software and services.
It’s an excellent way to gain hands-on experience and learn new skills. However, like any other system, a home lab or network needs to be updated and revamped from time to time to keep up with the latest technologies and best practices.
As technology evolves at a rapid pace, it is crucial for home lab owners to periodically assess their setup and make necessary upgrades to take advantage of new innovations.
Revamping your home lab or network is essential for several reasons.
Before you start revamping, it’s essential to plan what changes you want to make. This could involve researching the latest technologies, deciding on the hardware and software you want to use, and determining how these changes will affect your network.
Make a checklist of all the upgrades and changes you want to implement. Calculate estimated costs and prepare a budget if required.
Before making any changes, ensure that you have a backup of all important data on an external hard drive or cloud storage.
This will prevent any data loss during the revamping process. Also, take snapshots of existing configurations for reference.
If necessary, upgrade your hardware. This could involve purchasing new routers, switches, servers, or other networking equipment.
Compare different products in terms of features, performance, and budget. Check hardware compatibility issues.
Update all software to their latest versions. This includes your operating system, applications, antivirus software, and any other software you use in your home lab. Check release notes for any specific upgrade instructions.
Make any necessary configuration changes. This could involve changing network settings, updating firewall rules, modifying server configurations, or updating access controls and permissions. Test new configurations in isolation first before rolling out.
After making all changes, thoroughly test your network to ensure everything is working correctly. Perform functionality testing, load testing, and penetration testing if possible. Troubleshoot any issues identified during testing.
There are several popular home lab setups that you might consider:
For a more specific setup, you might consider building your own home server which is low-power and affordable. You can choose components like motherboard, processor, RAM, SSD, etc. based on your needs and budget constraints. Set up remote management capabilities as well.
Another popular setup is using Intel NUCs for their low power consumption and super low noise levels. They can run the latest releases of VMware vSphere pretty much out-of-the-box and with the help of Intel’s built-in network card. Configure them for high availability if running critical services.
Revamping your home lab or network can be a rewarding project that helps you stay updated with the latest technologies, improves performance, and enhances security.
With careful planning, budgeting, and execution, you can successfully upgrade your home lab and continue learning and experimenting in a more efficient and robust environment. Document all steps properly for future reference. Enjoy the process!
Hand-picked articles you might also find useful.
 Routing & Switching
 What is Ingress in Networking? In computer networking, Ingress is the term used to describe data that enters…
 Routing & Switching
 Star Topology is a popular type of network topology in which each node (computer or another device) is…
 Routing & Switching
 UDP Port 67 is a key component in modern network infrastructures, allowing vital automatic assignment of IP addresses…